FIAT COUPE MAIN BEAM LED CONVERSION
Decided after a couple of near misses due to the poor lights of the coupe to upgrade the main beam bulbs to LEDs & upgrade the dipped bulbs to better halogen versions.
ToolsSmall Screwdriver (I used one out of a glasses repair kit)
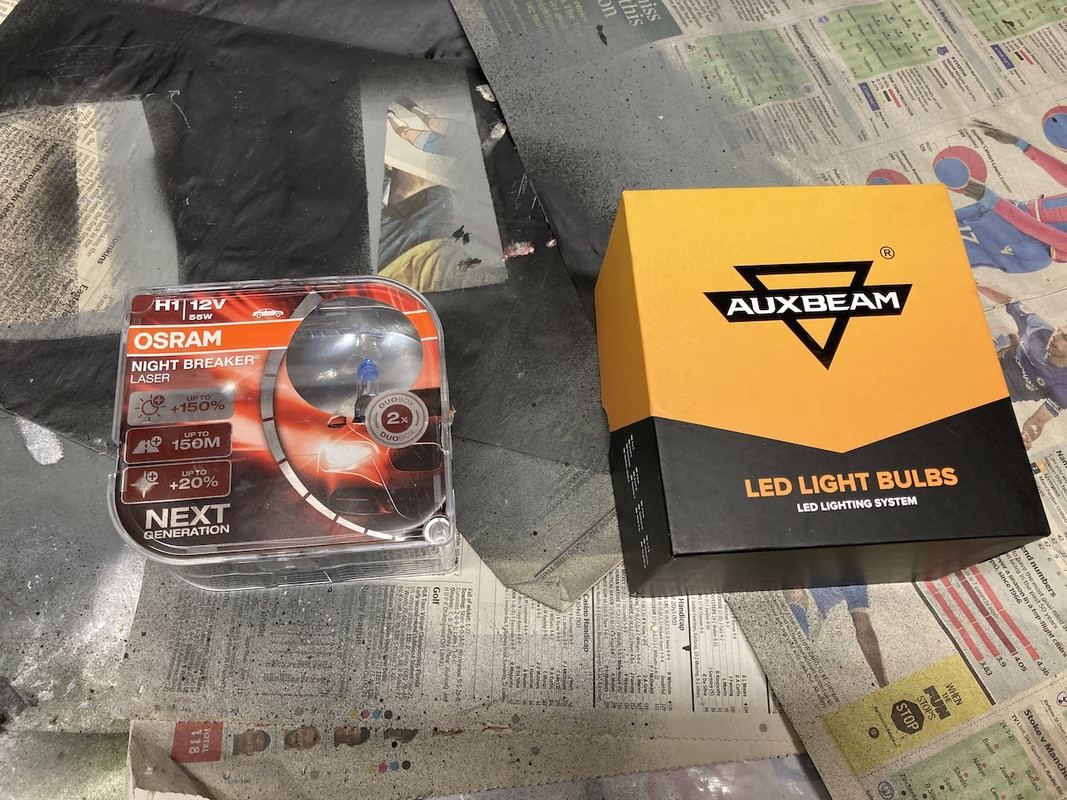
PartsAuxBeam Bulb Kit – Contains 2 bulbs! (Amazon Associate Link
HERE)
OSRAM NightBreaker Laser Kit – Contains 2 bulbs! (Amazon Associate Link
HERE)
Insulation Tape
HID based lights are great but they generally not direct replacements for the OEM as they have a transformer to be used and mounted, which in the coupe is going to be tricky as you’ll need to it be small enough not to affect the bonnet profile, plus a transformer adds weight to your bonnet (not a massive amount, I grant you but extra weight) and we know the bonnet struts on the coupe don’t exactly work at the best of times!
I don’t recommend using LED in your dipped bulbs, the AuxBeam will cause dazzle – I fitted uprated (OSRAM NightBreaker Laser) direct OEM replacements as dipped bulbs at the same time as doing the LED conversion.
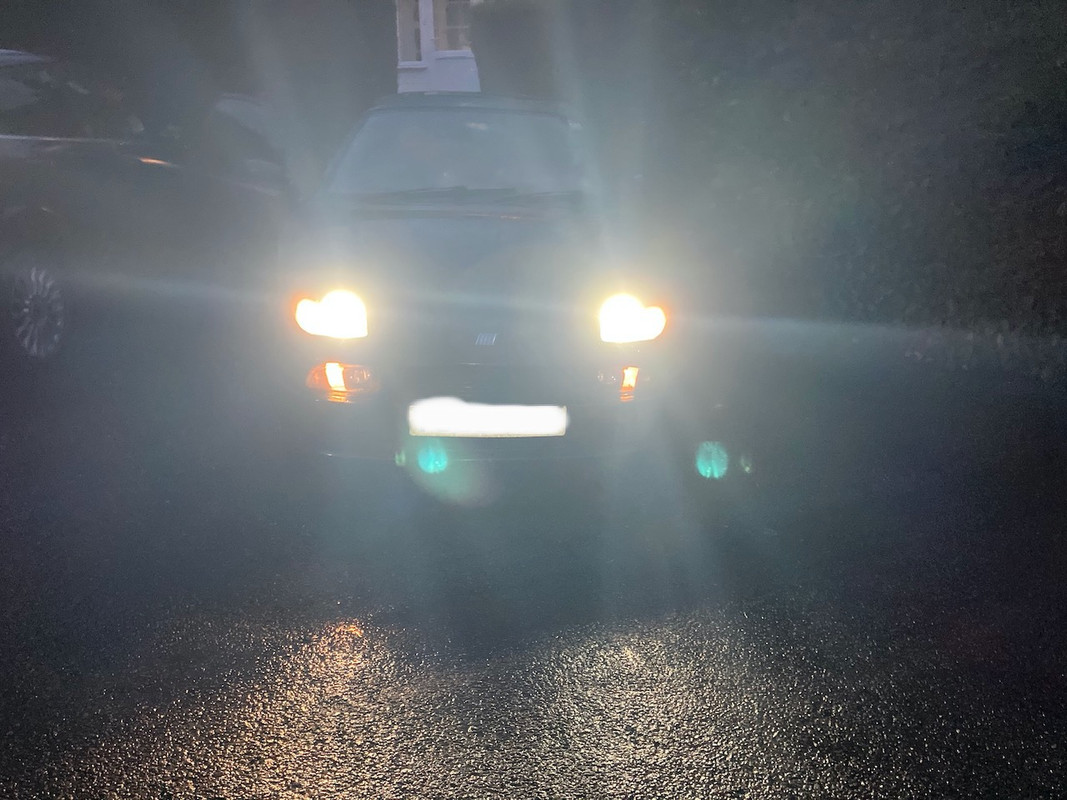
Here is a comparison, left (main) bulb is LED, right (main) bulb is standard
**...Picture to follow, for now see attachment 1**
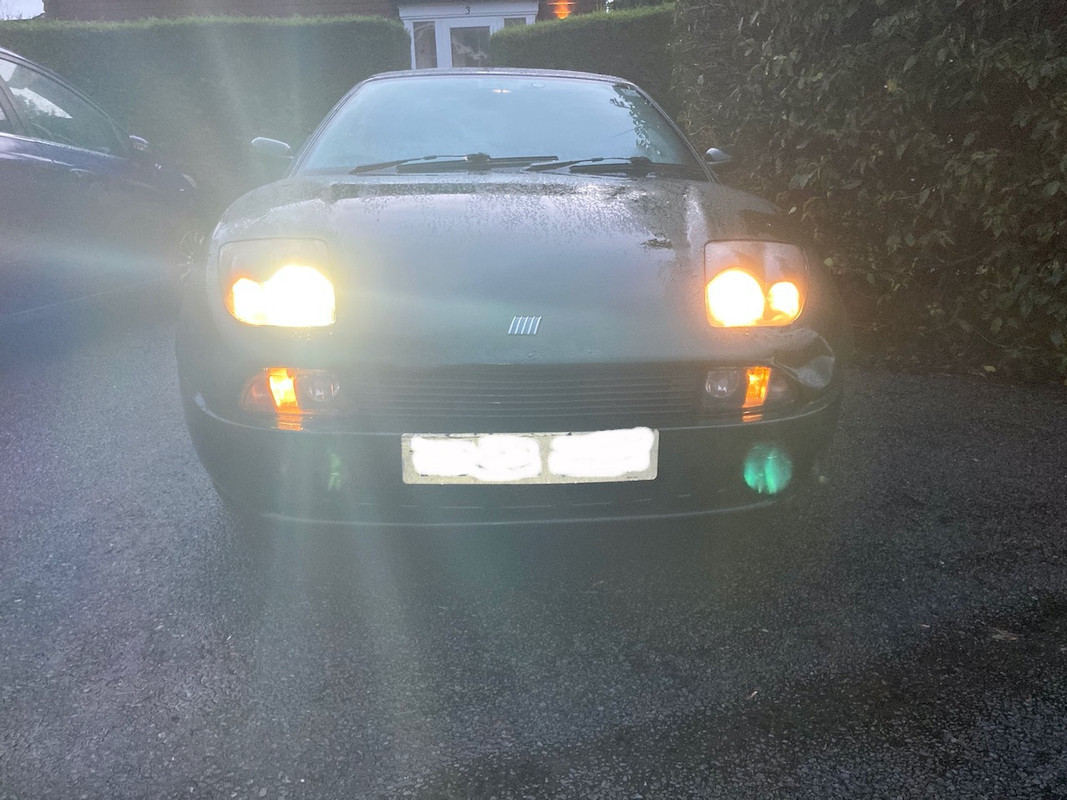
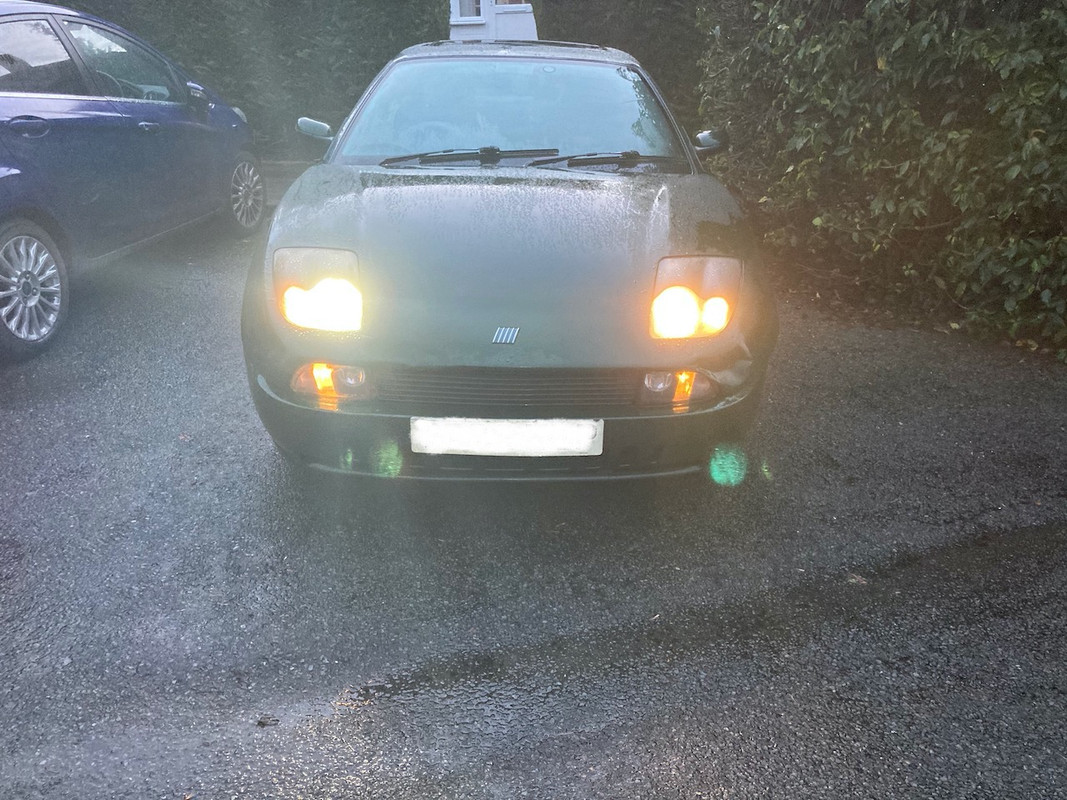
(and yes, I’ve yet to fix my dented bonnet)
PDF Document Link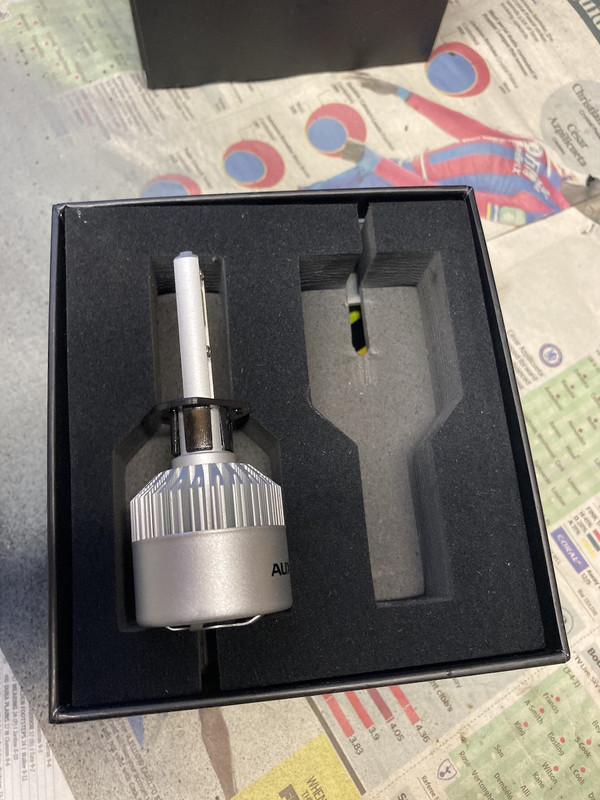
LED bulb, open box (I’ve already fitted one bulb by this point!
1. AuxBeam Fitting Removal
You need to remove the plastic fitting from the LED bulb , now I’m not sure if its design to be removed so be very careful. I used a small screw drive to prise the bottom of the plastic clips off and remove it from there.
Before removal:
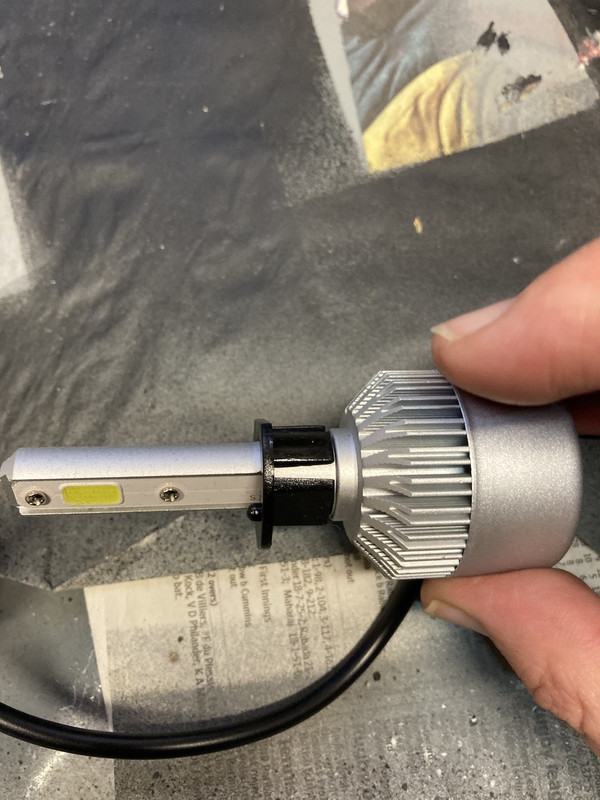
Post removal:
2. Bulb Removal
Open Bonnet
Remove the rubber cover
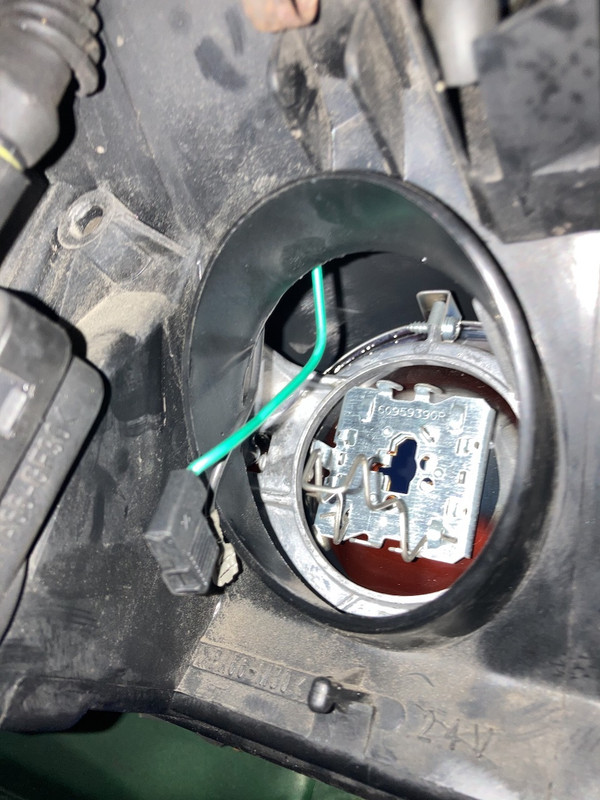
Remove wires from the bulb
Unclip and remove the bulb
Should look like this
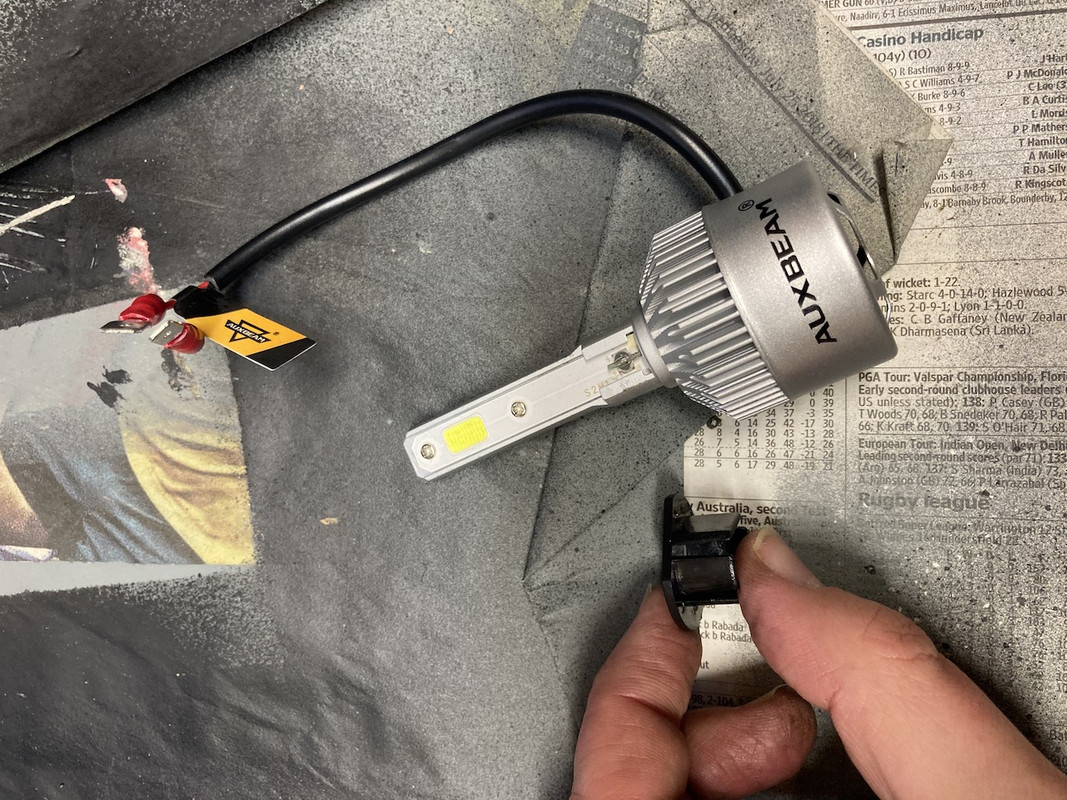
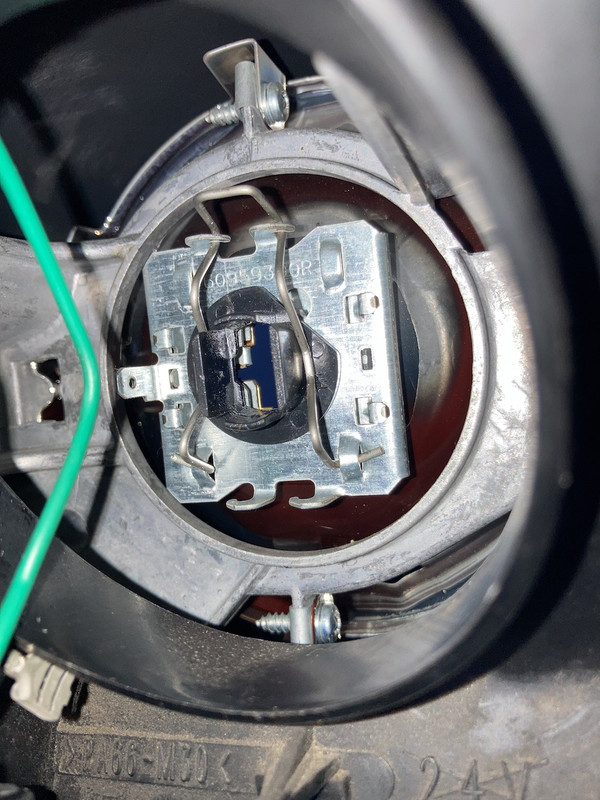
3. Fitting The Mount
Fit the plastic mount removed in the 1st step (and only the plastic mount NOT the bulb!). Like a bulb it has a grove and nipples, these need to be fitted in the correct orientation!!! Clip the retaining wire, just like you would a bulb.
Should look like this….
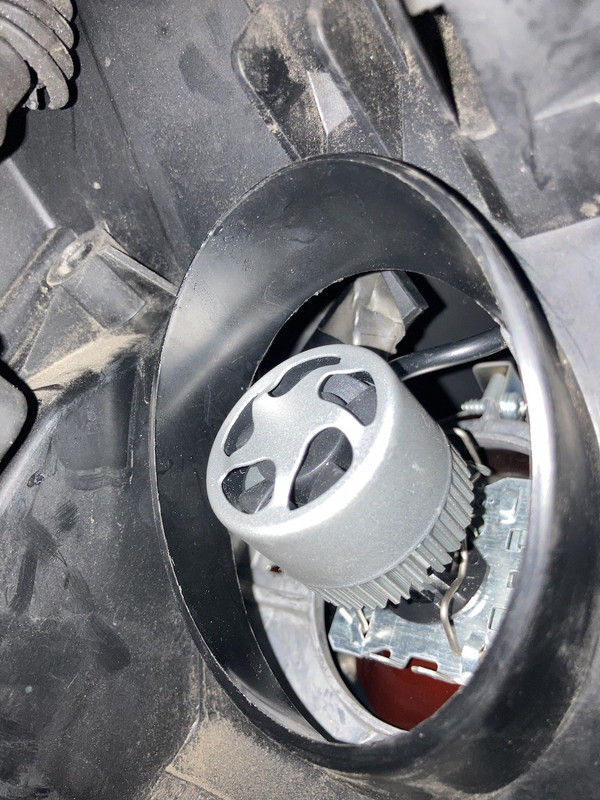
4. Fitting The Bulb
Push the bulb into the plastic connector it can go in two way, I suggest fitting it with the electrical wires pointing INTO the bonnet (up from you). It should lightly click when it is correcrtly in place.
YOU CAN’T REMOVE THE BULB ONCE FITTED (the bulb obscures the clips holding the mount in place)
So double check before committing!
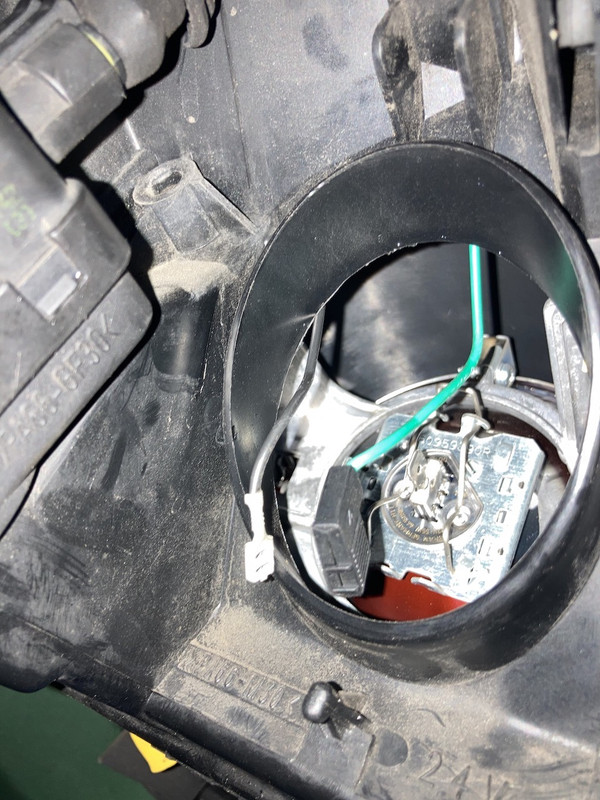
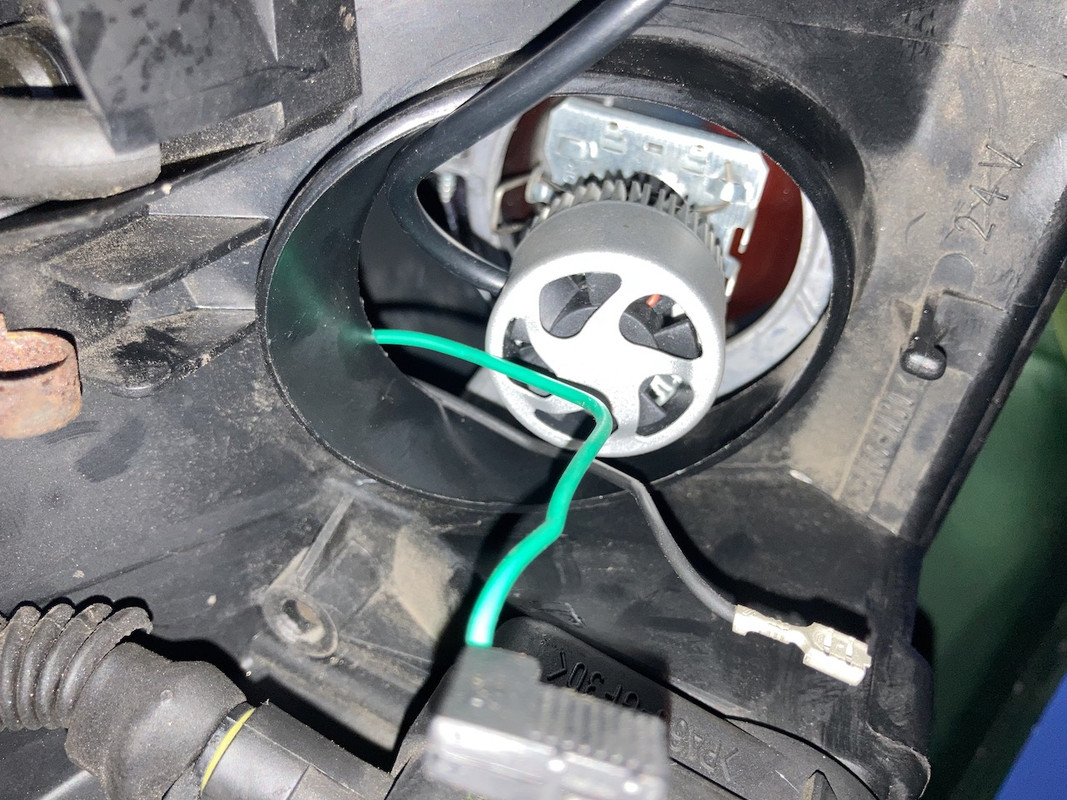
5. Wiring Up The Bulb
LED (unlike halogen) bulbs have to be connected to the right polarity.
The wire connecting to the bulb (green on my couple) is the +ve, the wire connecting to the bulb holder is the negative but I strongly recommend checking this is correct with a voltmeter!!!
The LED bulbs have spade connectors are a direct fit, and are colour coded red (+ve) and (-ve) black.
NOW STOP AND TEST!!!!!
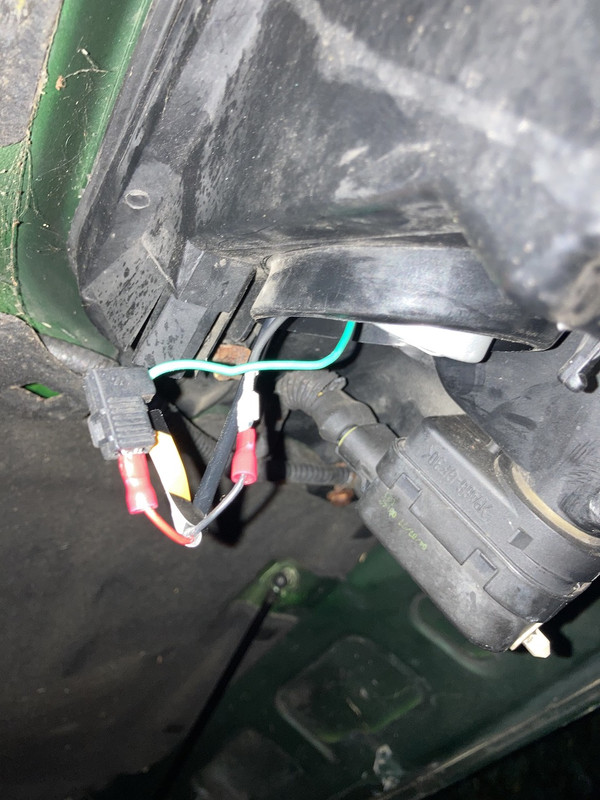
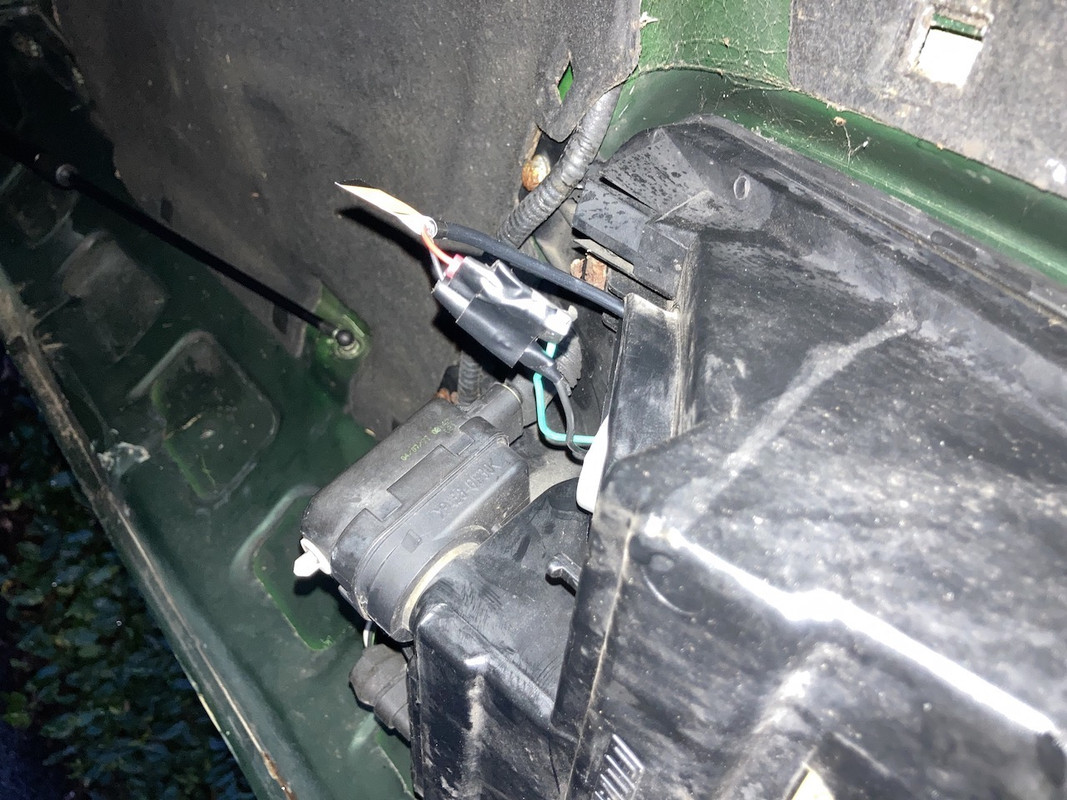
Before wiring up
Temporary connection for testing
6. Finish the wiring
If the testing was successful add some electrical tape to keep the connections in place…. You don’t want the terminals shorting out on the body work!
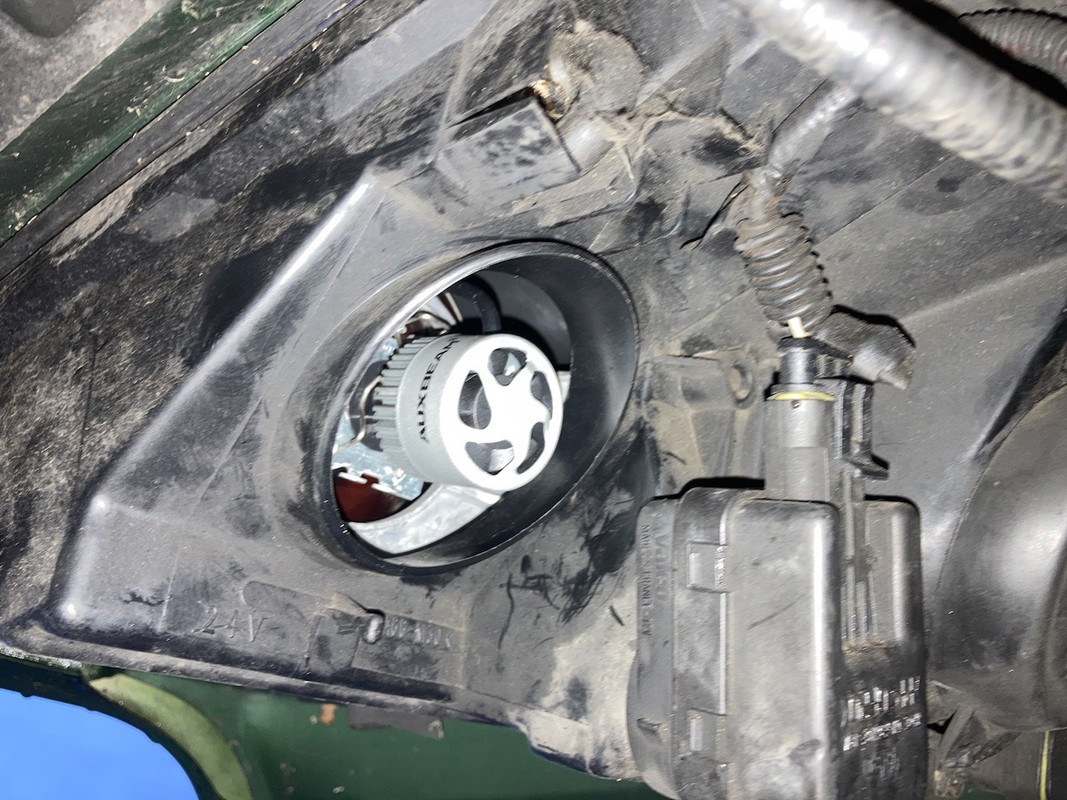
7. Make it look pretty (optional).
Tuck the taped insulated wires up into the body of the light, away from the LED bulb. You want to keep as much room for air flow and the LED Bulb fans as possible….
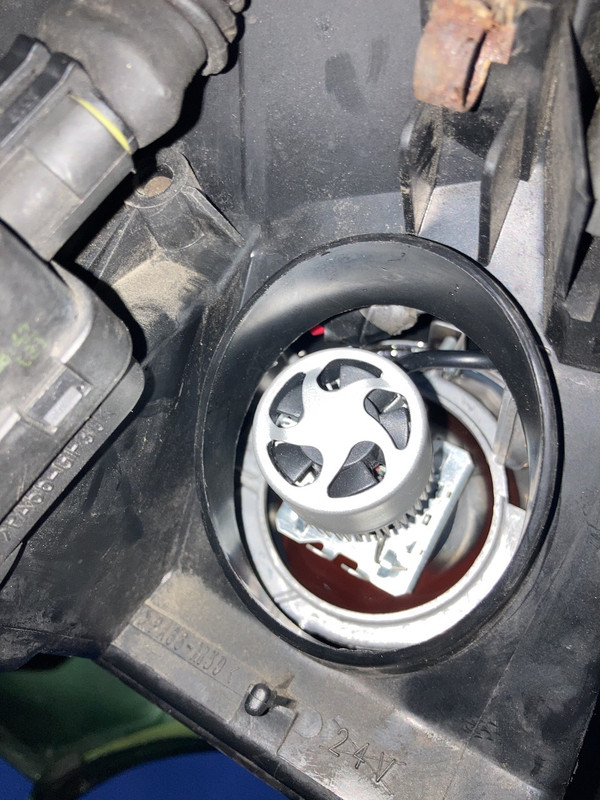
8. Refit the rubber cover
..and its job done!
Check the gap between the cover and the bottom of the LED bulb, on mine you could gently push the rubber cover and still not touch the back of the bulb, so there was room for the air to flow
9. Fitting the OSRAM NightBreaker Laser Bulbs
As these are direct OEM replacement, just follow the instructions in your manual for standard bulb replacement

Finished Product
I've PDF'ed my document on this
LINK Good luck and it goes without saying you use this information at your own risk!
DS